
We’re excited to announce that Meraki Go switches now provide additional security in the form of MAC allow lists! This means you can configure ports on a Meraki Go switch to only accept certain devices based on their network card’s assigned MAC address.
In this article, we share more about MAC addresses, how to find them, and steps to configure MAC allow lists on Meraki Go.
What is a MAC address?
A MAC (media access control) address is used to send messages between computers on a network. It is a 12-digit hexadecimal value that is globally unique. Manufacturers assign unique MAC addresses during production, so no other device should ever have the same address. They come in the following format: 00:00:00:00:00:00 or 00–00–00–00–00–00.
MAC addresses operate at layer 2 in the OSI (Open Systems Interconnection) model and are used for local communication only. They should not be confused with IP (Internet Protocol) addresses, which operate at layer 3 in the OSI model.
How do I find my MAC address?
All network-enabled devices have a MAC address and you will follow different steps to find the information based on your operating system.
Windows
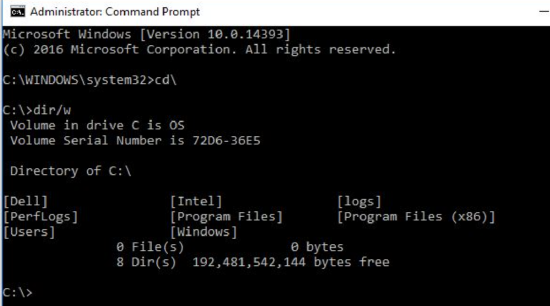
- Click Start and type cmd
- Open the command prompt
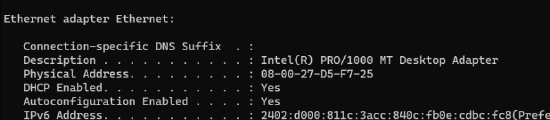
- In the command prompt window (similar to below), type ipconfig /all to see a list of all network interfaces on the computer
- Find the interface that represents the active network connection
- Note the Physical Address for that interface – that is the MAC address
MAC
- Open a terminal
- Type ifconfig to list all network interfaces
- Find the interface that represents the active network connection
- Note the number next to ether – that is the MAC address

How do I configure a MAC allow list?
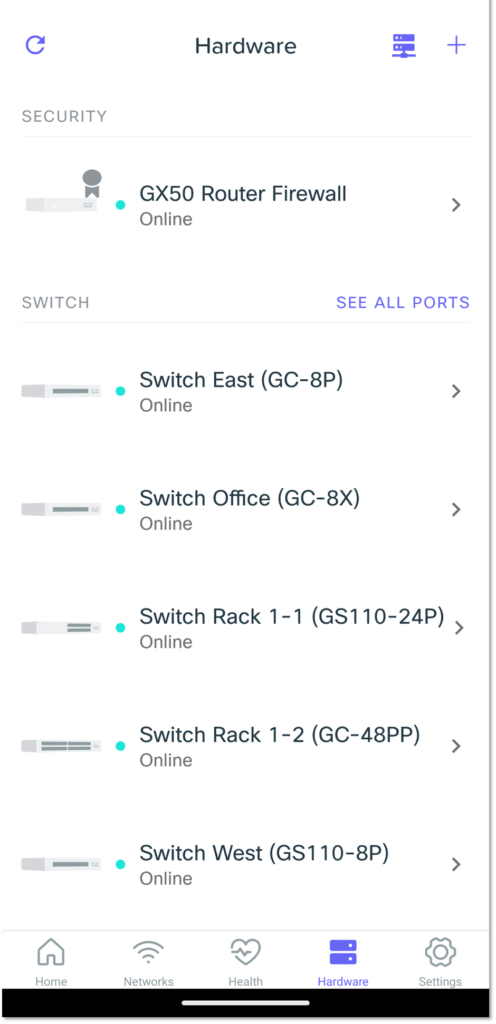
To begin, log in to the Meraki Go app and navigate to the Hardware screen.
Under the Switch section, you can either select a specific switch and then choose a specific port OR click on See All Ports.
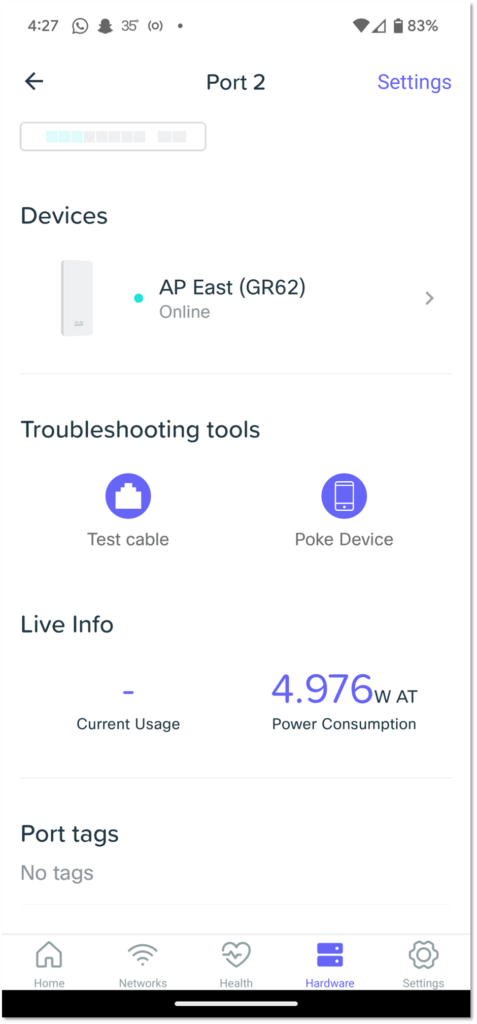
In our example below, Port 2 is a PoE payment gateway on a restricted VLAN so no other devices should connect to it. We will select Port 2 to configure it.
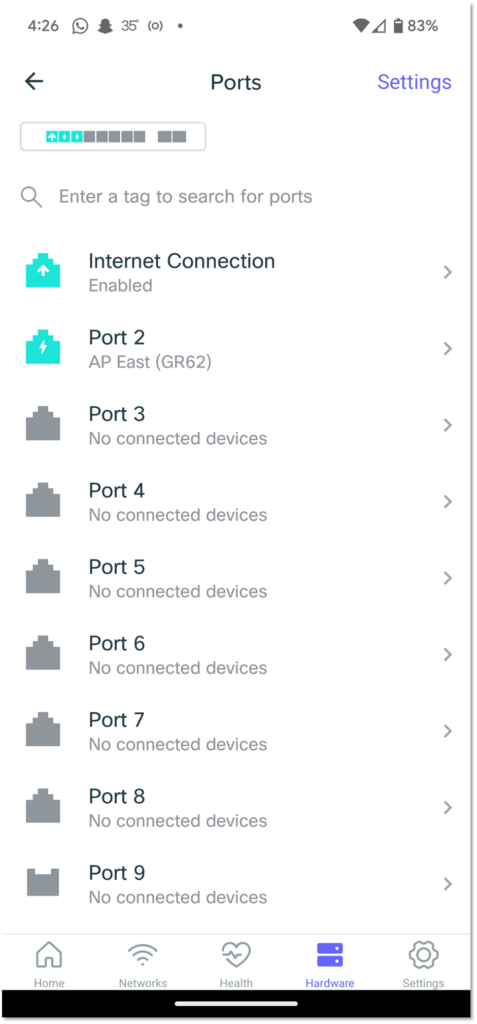
On the port’s information screen, click on Settings.
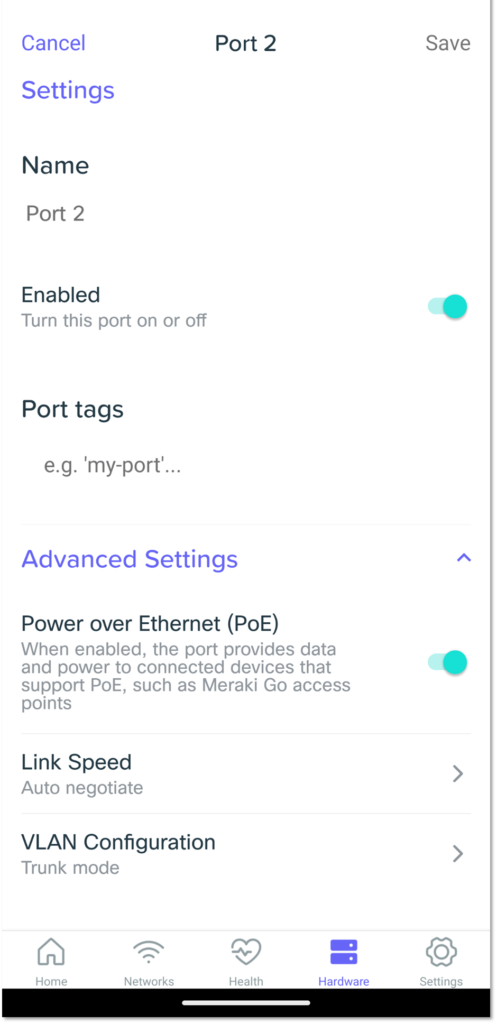
Once in Settings, scroll down to Advanced Settings and find VLAN Configuration.
You can see it currently reads Trunk mode. A trunk port cannot have a MAC allow list, so you must change to Access instead. To do this, click into VLAN Configuration.
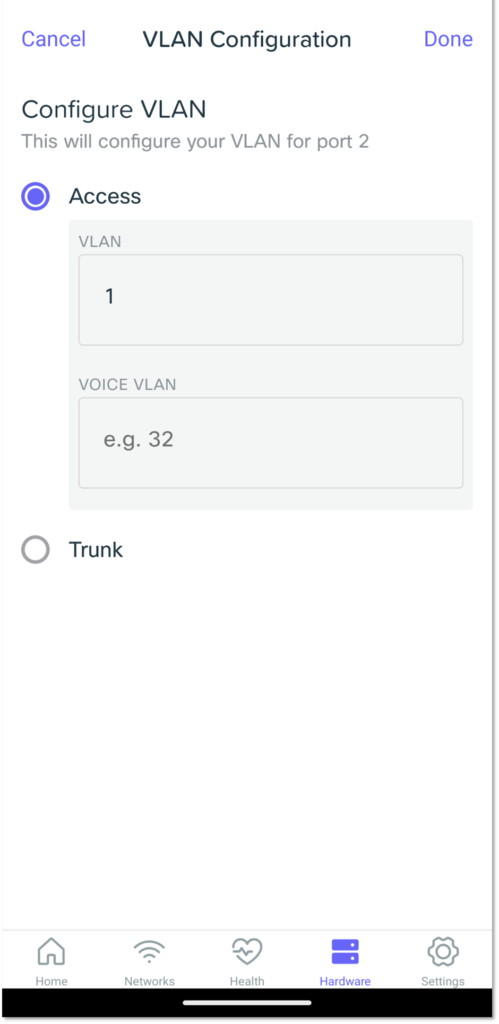
Once you select Access, you’ll see fields pre-populated with a default. However, you can also manually enter the VLAN ID you want the device to have access to. Finish this step by clicking Done.
This takes you back to the port’s screen. You can now click into MAC Address Allow List under Advanced Settings for this port.

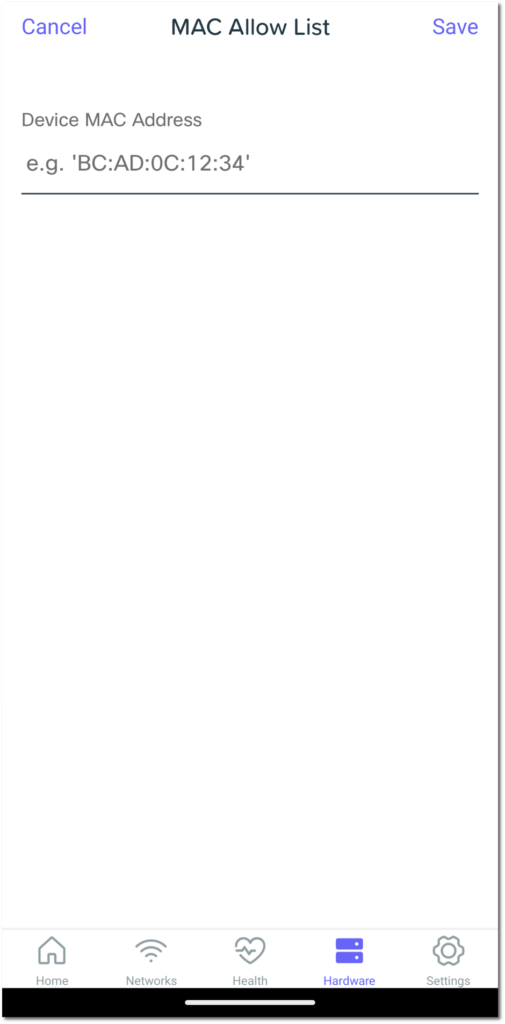
Once on the MAC Allow List screen, click the + sign to choose what devices are allowed on this port. This can be done manually by entering the address or choosing a device from the clients list. Please note that the clients list does not include Meraki Go hardware.
Finally, enter the MAC Address and click Save. You’ve now successfully configured a device.

Visit the Meraki Go site to learn more about our intuitive and innovative solutions that support small businesses.