
Many small businesses begin with one person, but soon expand to include a partner or employees. Other small business owners use external vendors to tackle various tasks or projects for the company. As your business evolves, you might find you want to share the management of your wireless network. Meraki Go allows multiple administrators to have control over settings for an organization and full access to your network’s data.
In this article, we’ll show you how to grant and remove administrators from your account.
Add an administrator
First, open the Meraki Go app.
- Navigate to the Settings screen
- Scroll down to Account and tap Admins
- Select the + sign in the upper right
- Add an administrator by entering their name and email address
That person will then receive an email from Meraki Go that informs them they have been added as an administrator.
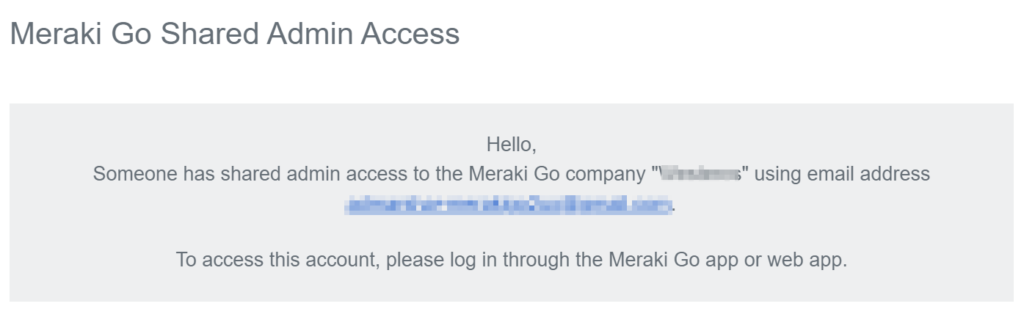
If the new administrator does not already have a Meraki Go account, the email will also provide a link for them to create one.

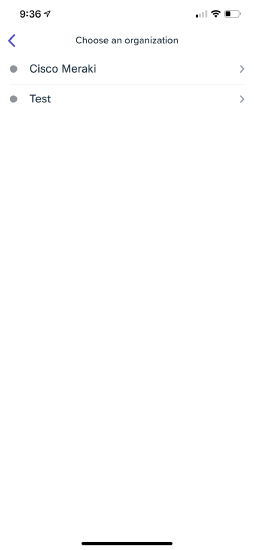
Choose a company
Users associated with multiple Meraki Go companies can also easily switch back and forth between them.
After opening the app:
- Navigate to Settings and scroll down to the Account section
- Select Change Company
- Choose the Meraki Go organization and easily transition between them
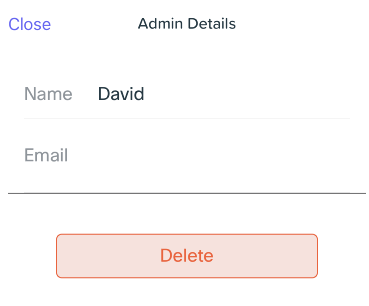
Remove an administrator
If you later need to remove an administrator, you will follow a very similar process.
Once again, after opening the app,
- Navigate to the Settings screen and scroll down to Account
- Tap Admins and select the administrator you’d like to delete
- If needed, enter their email address
- Finally tap Delete
You’ve now successfully removed that administrator from your organization.
For full documentation on multi-admin access and more for Meraki Go, visit the Documentation page.