According to a Cisco Meraki survey, security is the top priority for 93% of small businesses. It should be. After all, 43% of cyberattacks are currently aimed at small businesses and 60% of those businesses will close within 6 months of an attack.
One of the methods cybercriminals employ is getting you or your customers to visit a malicious site. Meraki Go’s devices automatically detect dangerous websites, but you are also empowered to block any you want. This might include gambling, porn, or other sites you just don’t want your customers to visit.
In addition to blocking sites for security reasons, some applications – such as Netflix and YouTube – gobble up a huge amount of bandwidth. Meraki Go allows you to view the health of your network at all times, so you can identify which websites are problematic. You’ll also be able to identify whether it’s your employees or customers who are visiting the sites.
You can control all of this with Meraki Go. Here’s how to configure each of your networks with customizable web blocking rules to ensure that no one accesses websites that may be bad for your business.

Select the network…or Everywhere
Choosing one or more networks
There are two ways to customize your web blocking. The quickest is to select the Settings tab at the bottom of the Home screen. Then under Usage and speed, you will see the Web blocking option. Clicking into it will display every network you have under your account.
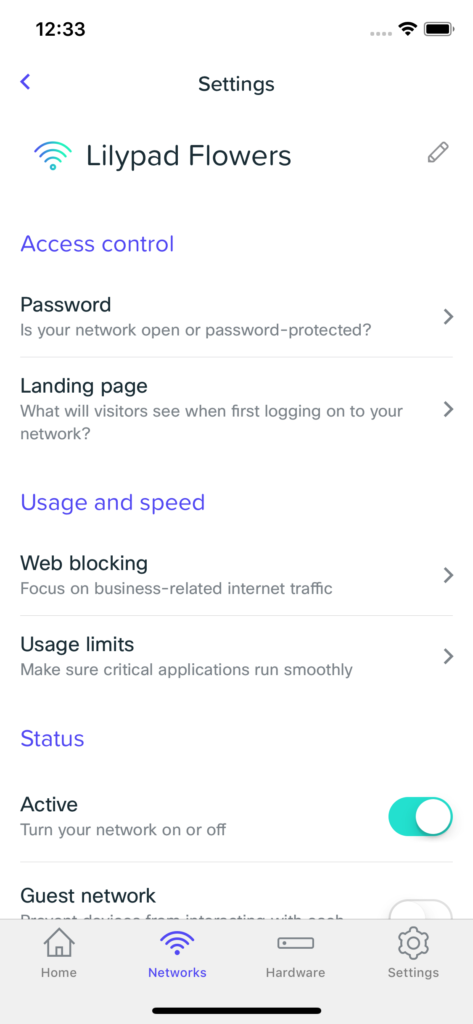
Your other approach is to go directly to the network you want to customize. From the Home screen, click the Networks tab at the bottom. You will then see a list of all your WiFi networks. Select the one you want to customize – our example below is a network for a company called Lilypad Flowers – and then click Settings in the top right.
Under Usage and speed, select the option called Web blocking.
Choosing “Everywhere”
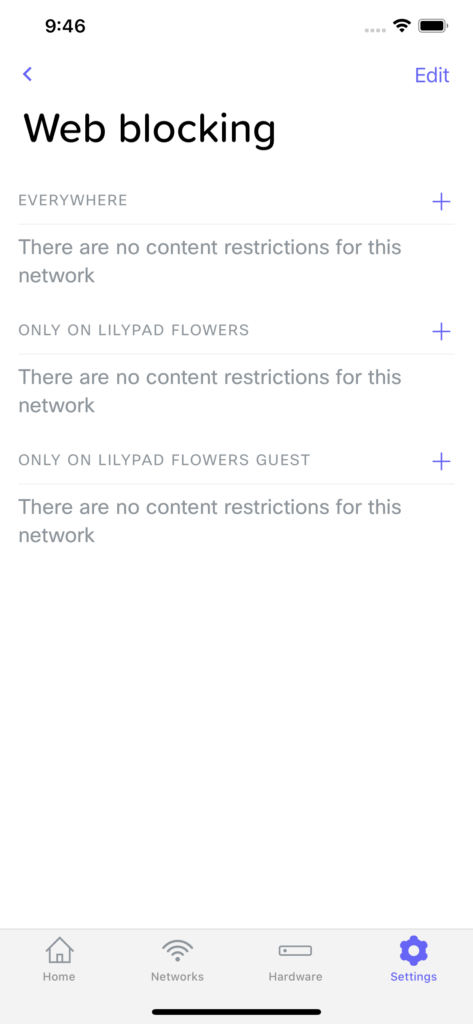
When accessing the Web blocking feature from the Settings screen, you will see a section at the top named Everywhere. This will apply any web blocking rule to all internet-bound traffic passing through your Meraki Go device. This is useful if you have certain websites you want to block everywhere on your network.
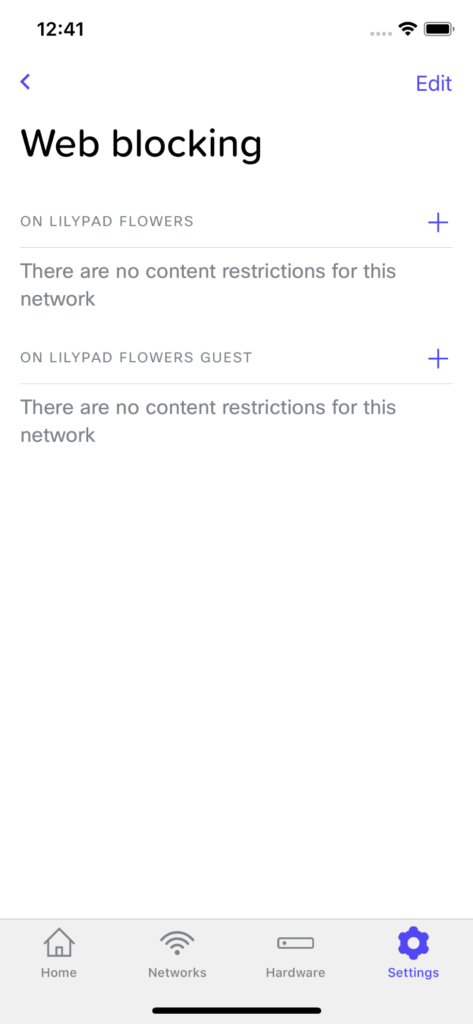
Create a new rule
From the Web blocking screen, click the plus sign + to enter a new website to block. If you have accessed the Web blocking screen from Settings, you can choose which network to create the rule for by clicking the plus sign + next to the appropriate network name.
Please note: If a website with a subdomain is provided, it’s the general website that will be blocked. For example, entering “docs.google.com” will block access to “google.com”

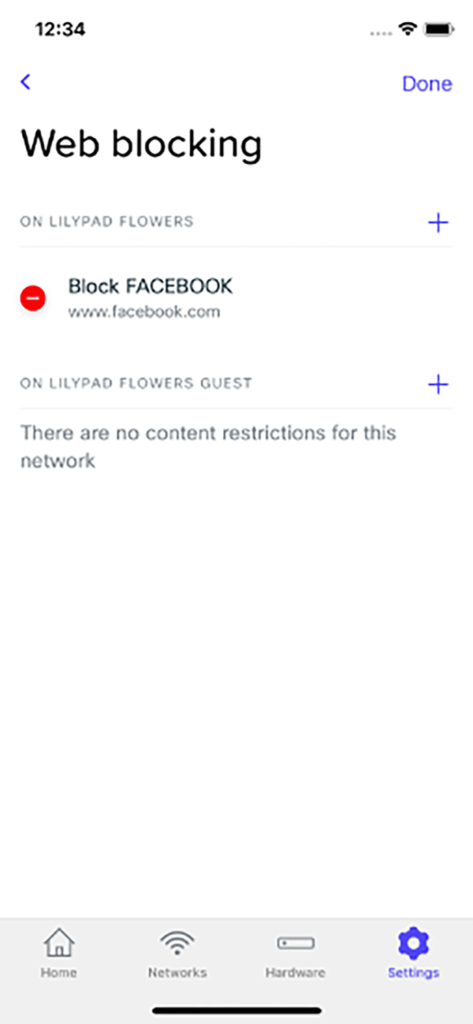
Delete an existing rule
From the Web blocking screen, you can select the Edit button in the top right corner. You can then select which rules you would like to delete. In the example below, Lilypad Flowers chose to block Facebook. Clicking on the red button will delete that existing rule.
Look of blocked pages
If a customer tries to access one of the blocked sites, they will be presented with one of two pages, depending on if they were attempting to access the website over HTTP or HTTPS.
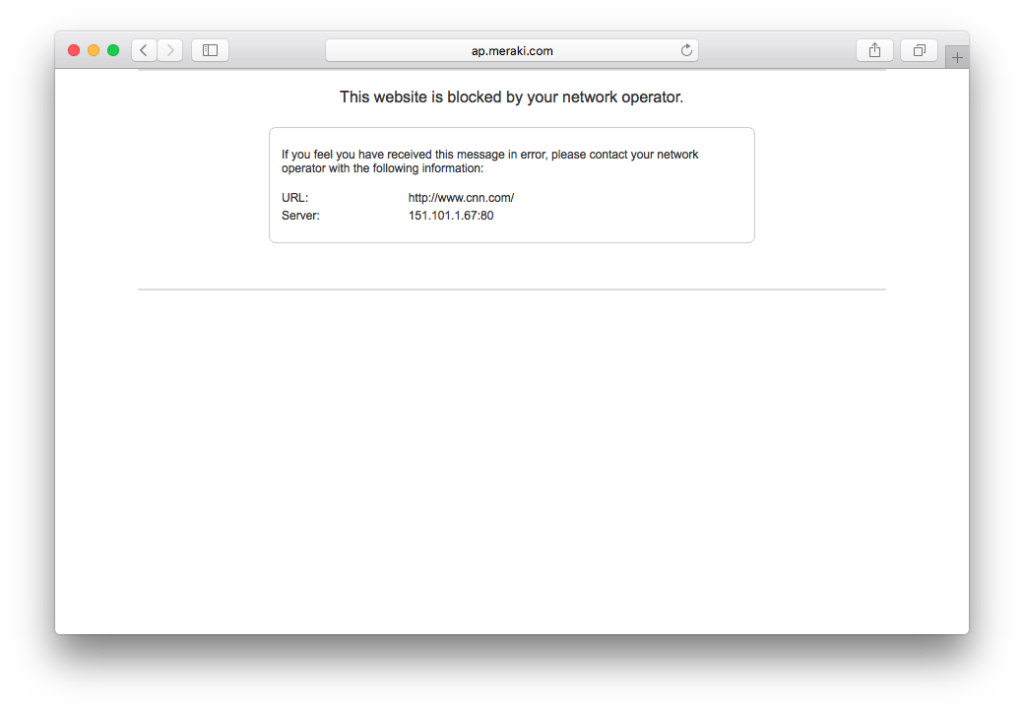
HTTP
With HTTP, users will see a screen similar to the one below indicating to them that this page has been blocked.
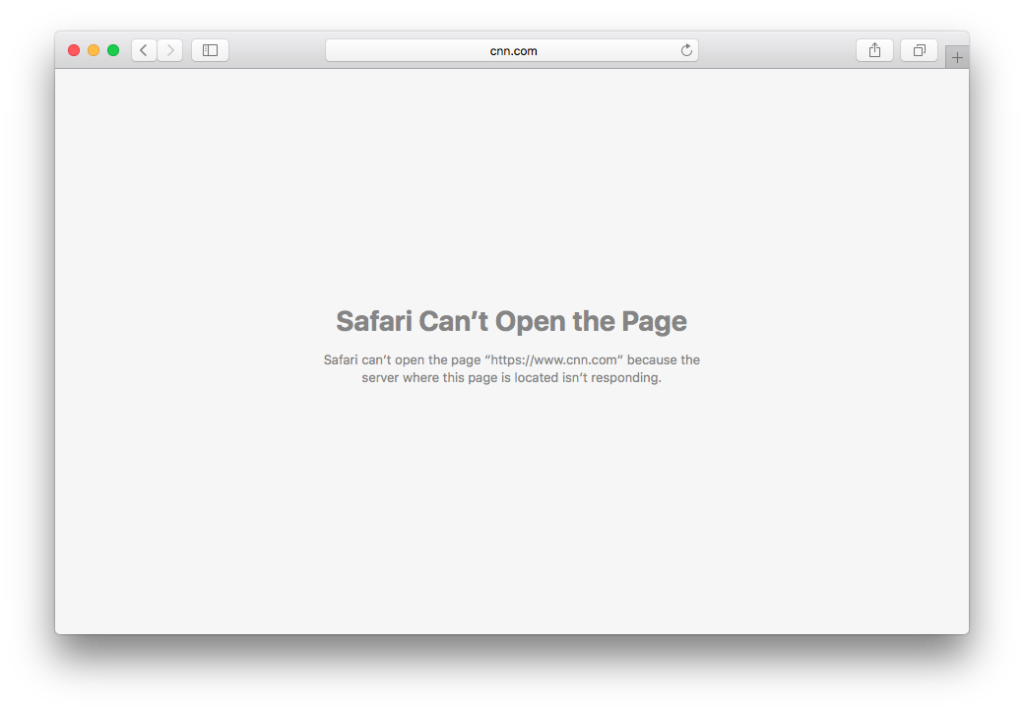
HTTPS
Due to the nature of HTTPS, we aren’t able to present a blocked page. Just know that users will be unable to access the website and will most likely receive a timeout page.
Other helpful articles on the Meraki Go blog
- 10 Types of Phishing – How to Protect Your Small Business
- How Small Businesses Get Hacked – Interview with Mike Storm
- 6 Steps to Stay Secure in the Cloud
- Maximizing Meraki Go: How to Set Up Guest WiFi

SOURCES:
Accenture’s Cost of Cybercrime study
Cisco Meraki’s Small Business survey 2021
US National Cyber Security Alliance