Meraki Go is a powerful tool for small businesses, and we want to make sure that our customers understand all the features and customization that can be done. First and foremost is the ability to protect your network with multi-factor authentication (MFA).
As we’ve discussed on the blog, multi-factor authentication has become a superhero for cybersecurity. It allows you to protect your business by requiring at least one additional security identifier on top of your username and password in order to get access to an online account or application. As a result, MFA is extremely effective – it blocks nearly 100% of account hacks.
Despite this fact, a 2022 global study showed that only 45% of small and medium-sized businesses had set up multi-factor authentication. We want to make sure you are secure, so follow the steps below to enable MFA on your Meraki Go account to protect your business network.
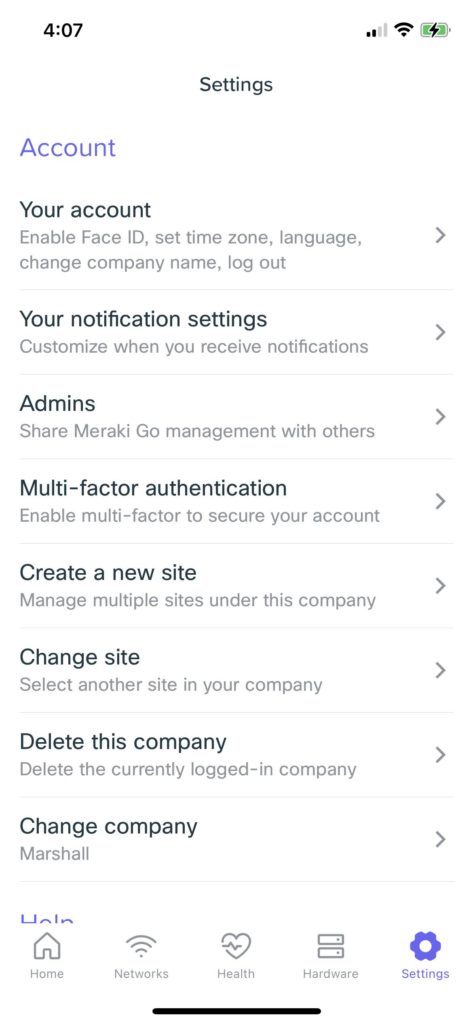
Open “Multi-factor authentication” in the app
In the Meraki Go app, select the Settings icon in the bottom right. Scroll down to the Account section and select “Multi-factor authentication.”
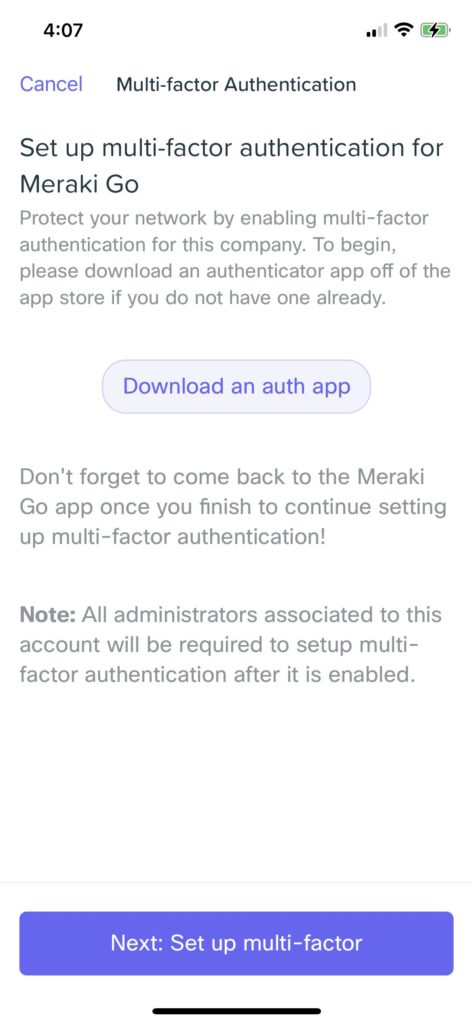
Select an authenticator app
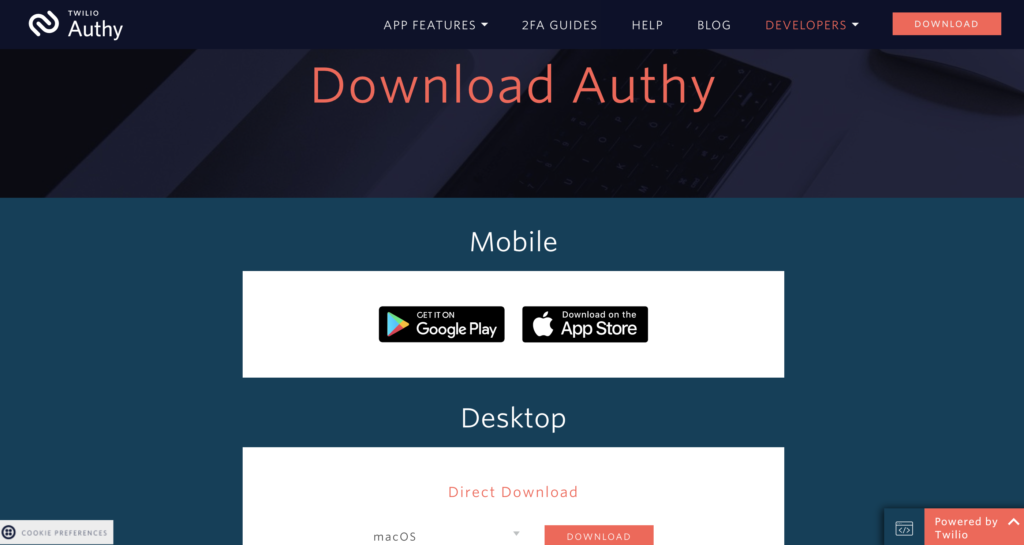
In order to enable MFA, you will need an authenticator app. The “Download an auth app” button in the Meraki Go app (shown below) will take you to Google Authenticator, but most authenticator apps will work so you can choose your own.
The good news is that they are completely accessible to small businesses. Google, Microsoft, and 2FAS are all free. DUO offers a free version. LastPass and Authy offer free trials. And even if you do select a paid plan, they are affordable. DUO, for example, starts at $3 per user per month. We link to the different options below.
Once you have downloaded an authenticator app, you can move to the next step by pressing the “Next: Set up multi-factor” button.
DUO Security (by Cisco)

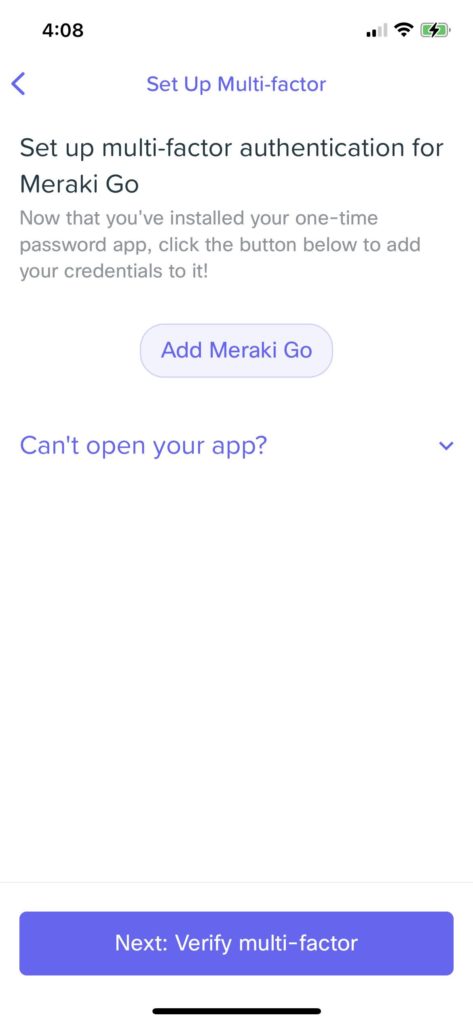
Add Meraki Go to the authenticator app
Click the “Add Meraki Go” button to generate a QR code for your authenticator app. You can also use the “Can’t open your app?” button to show your account name and secret code to manually enter them into the authenticator app.
When you are done, select the “Next: Verify multi-factor” button.
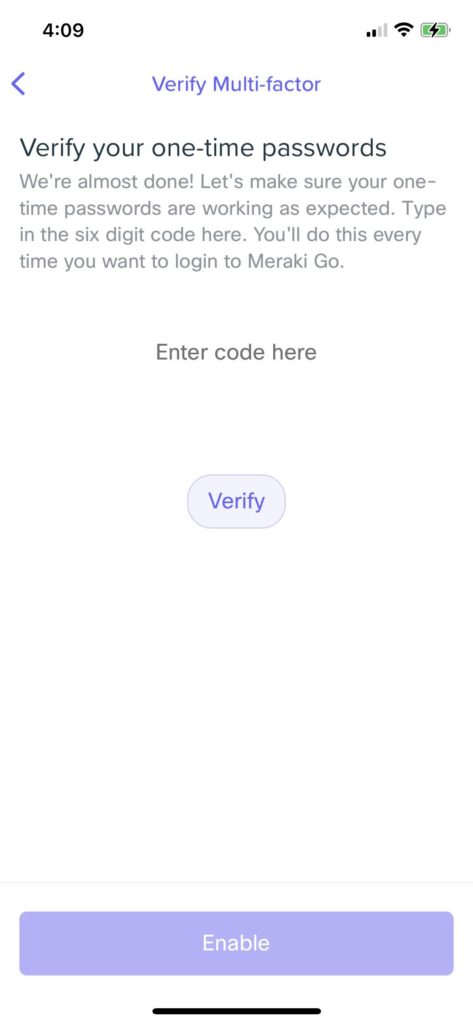
Verify the multi-factor settings
Before finalizing multi-factor authentication on your account, you will have to verify the settings using the authenticator app.
Enter the code from the authenticator app and press the “Verify” button. If the code is correct, the “Enable” button will become active. Click “Enable” and your settings will be applied. You now have nearly 100% protection on your Meraki Go network.
Learn more
Multi-factor authentication is empowering. Small businesses face so many threats today, including malware and phishing, and MFA can help protect you from a great number of them. You can also learn more from our conversation with Cisco’s cybersecurity expert Mike Storm, who shared how small businesses get hacked and why MFA is so important.
SOURCES:
Cyber Readiness Institute
Digital Shadows Photon Research report “From Exposure to Takeover”
DUO
Forbes
Google
Microsoft
Okta
PC Mag
TechRadar
Wall Street Journal
U. S. Cybersecurity and Infrastructure Security Agency
ZD Net